11.3 Receiving and Labeling Samples
Disclaimer |
| |
|---|---|---|
|
Recebimento e Rotulagem de Amostras Receiving and Labeling Samples
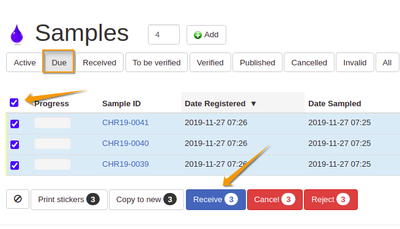
Receiving Samples registered remotely earlier, a lab clerk identifies them, finds them in the system on the Client's 'Sample Due' list, and transition them to Received state by selecting them and clicking the Receive button
Bika prints the Samples' barcoded labels and returns the user to the Sample List - these Samples are now in Received state and ready to be analysed Auto-receiveIn labs that don't use Sampling workflow and the Samples are always registered when they arrive at reception, consider enabling Auto-receive on the Sampling tab in the Setup. Sample will then start their life cycles in Received state, eliminating the need to Receive them 'Samples Received' email to clientsIf you have product installed, an email is posted to the Client Contacts on them, that their Samples were received at the lab. The email text can be configured in the setup and Sample and their Batches hyperlinked Sticker orderAt Sample Registration stickers are printed for the Samples created per column left to right on the registration form to minimise miss labelling Samples At Sample Reception, stickers are printed top down for those Samples selected from the Sample due list sorted in Sample ID order
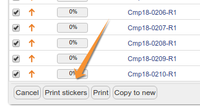
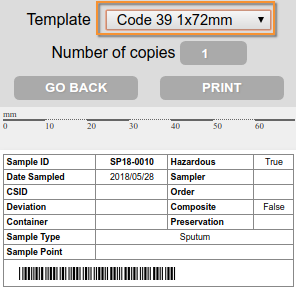
Sticker manuallyCan be printed for more than one Sample from Sample lists. To minimise miss identification and labelling of Samples, the stickers are printed in the same Sample ID order as displayed on the list Or from the barcode icons at top right in the work area on individual Sample or Sample views Large or Small, or any of the pre-formatted layouts on the Preview drop-down
|
Sticker printing setupOn the Stickers tab in the LIMS Setup, configure Bika to automatically print container stickers at
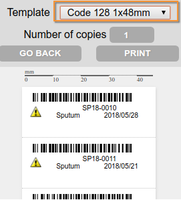
Stickers can still be printed later from lists and individual Samples Also select which template to use for the auto printing at run time. Small and Large defaults can also be set for printing stickers manually Barcoded sticker templatesCustomise your own! Linear standardSample ID barcode; text Sample ID, Sample Type, Date Sampled Code 128 1x48mm's dimensions are 38 x 35 mm
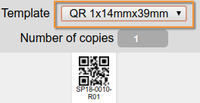
QR codeThis one small for Eppendorf tube
|
LargeMore information now, say for plastic ziplock bags
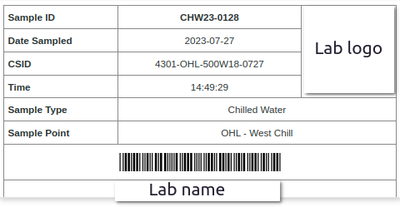
Large with logo
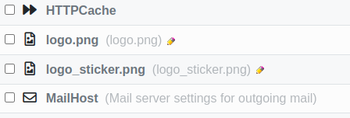
For this sticker you need to have the bika.xtras addon installed. Navigate to the ZMI and upload the logo, e.g.
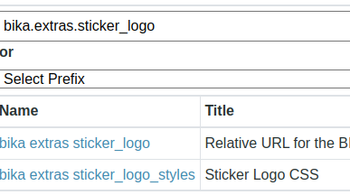
Navigate to the Sticker entries in the Configuration registry and set the path to the logo you uploaded and its size
|

