|
NB Some paged don't display the top toolbar - click on the page logo to bring it back
Client Contacts. LIMS users
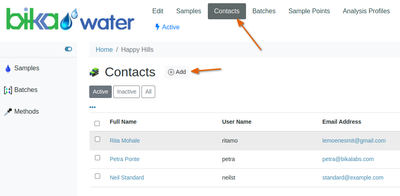
Add new colleagues to interact with the LIMS as Contacts - they must have email addresses to receive COA copies
Contacts that also need to use the LIMS, e.g. request Analyses, must be registered as LIMS users by lab management, who, when approved will link the new user to the new Contact
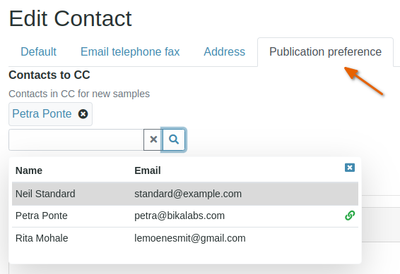
Contact COA cc Recipients
Configure Contacts to be automatically included in a given Contact's COA emails, on his/her Publication Preference tab


|
Sample Points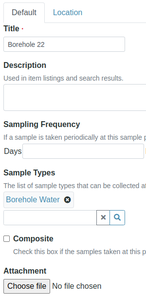
Sample Points are the places where you regularly take Samples for Analysis, e.g. a borehole monitored for water quality on a weekly basis. By populating your Sample Point table, they'll all be available for selection on the Sample Point lookup on the Sample Registration form
Access your Sample Points from the top horizontal toolbar, click [Add] to create a new one
You can capture which Sample Type is sampled here which speeds up Sample registration
You can add geographic coordinates on its Location tab, and other attachments like sampling instructions or photos of the site to make it easier for Samplers in the field
Analysis Profiles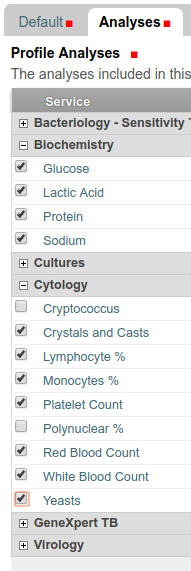
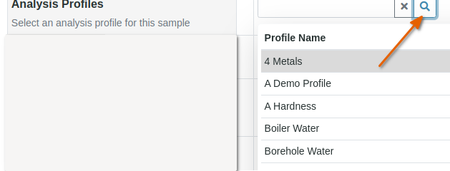
Sometimes also referred to as Test Panels or Masks, Analysis Profiles are the collections of Analyses that are frequently ordered together. Set up in Profiles, these Analyses are then requested in one click without having to manually select them individually
The lab's default Profiles are also available for use, but set up your specific own from the Analysis Profiles link on the toolbar, click [Add]
On the profile's Default tab, give it a meaningful title and description, and add remarks if required. The title will be displayed in look-up lists where the user has to select one
The profile's keyword is used by the LIMS in the background to identify the profile in import files where they could be used for Batched Sample per comma separated file import
Select the Analysis Services to include on the Analyses tab and save the Profile
The new Profile will then be available on subsequent Sample registration forms
|
Specifications
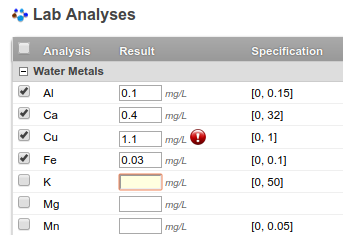
Set up valid ranges for Analysis results per Sample Type or Product. Any result outside of the range specified, raises alerts on Sample Views and eventually on the COA
A number of Specifications might have been configured by the lab already, typically government standards for water and food, or the different export markets
You may have your own Specifications, e.g. for R&D purposes, configure these from the Analysis Specifications link on the toolbar. Click [Add] to create a new one
Select which Sample Type or Product the Specification applies to and give the new Specification a corresponding name
Enter the
- Min, Max allowable valid results range
- Which operator has to be used when comparing results to the specified range, e.g. <=, <, > or >=
- Min and Max warn for values outside the valid range, but within allowable uncertainty or tolerance limits
Results within this shoulder range will raise a less severe alert

When a Sample Type / Product is selected on the Sample registration form, the Specification is available for the user to select from

Results outside of the selected specification are highlighted on their views in Samples and COAs
|


